 how-to
How to Ensure Accurate Logo Placement for Printing
Table of Contents
- Why Accurate Logo Placement Matters
- Standard T-Shirt Logo Placement Measurements
- How to Center a Logo on a Shirt
- Logo Placement Tools for Apparel
- Preparing Your Design for Accurate Placement
- Troubleshooting Print Distortion and Misalignment
- Quality Approval Before Production
- Frequently Asked Questions
Last Updated: September 28, 2026
Why Accurate Logo Placement Matters
Accurate logo placement is the difference between professional and amateur apparel. A misplaced logo shifts visual balance, distorts across sizes, and damages brand credibility immediately.
Your branded apparel represents your business. In industries where appearance signals competence, banking, automotive, construction, a poorly placed logo undermines credibility before anyone reads a word.
Accurate logo placement for printing requires precision from design through production. A single misalignment across 500 shirts means 500 pieces of damaged brand equity.
Placement doesn't require guesswork. Standard measurements, tools, and workflows exist to ensure professional results every time.
Standard T-Shirt Logo Placement Measurements
Industry standards balance visual appeal with practical constraints like seams, fabric stretch, and size variation.
Left chest logo positioning is most common for professional apparel. Position the center 2-3 inches from the left shoulder seam and 2.5 inches down from the neckline. This placement works across sizes because it sits in the natural visual zone.
The armpit seam is your hard boundary. Never place a design where it will intersect with the seam. Fabric gathers at seams. A logo that crosses a seam will distort when the garment is worn or washed.
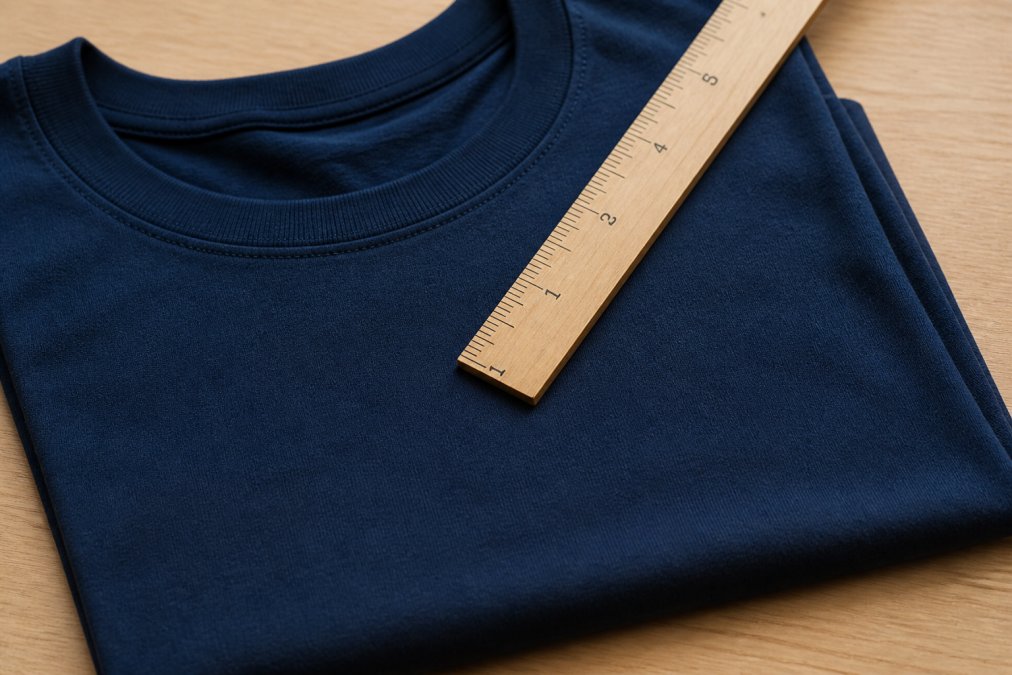
Center chest and back design guidelines follow similar logic. For center chest, position the top 3-4 inches below the collar. Back designs sit 4-6 inches below the neckline, often centered between the shoulder blades.
Keep back designs at least 1 inch from the hem to prevent distortion when folded or packed.
Sleeve logos sit 1-2 inches below the shoulder seam on the upper arm. Pocket placement requires avoiding the pocket opening, which distorts the print. Most brands skip pockets and use chest or sleeve placement instead.
How to Center a Logo on a Shirt
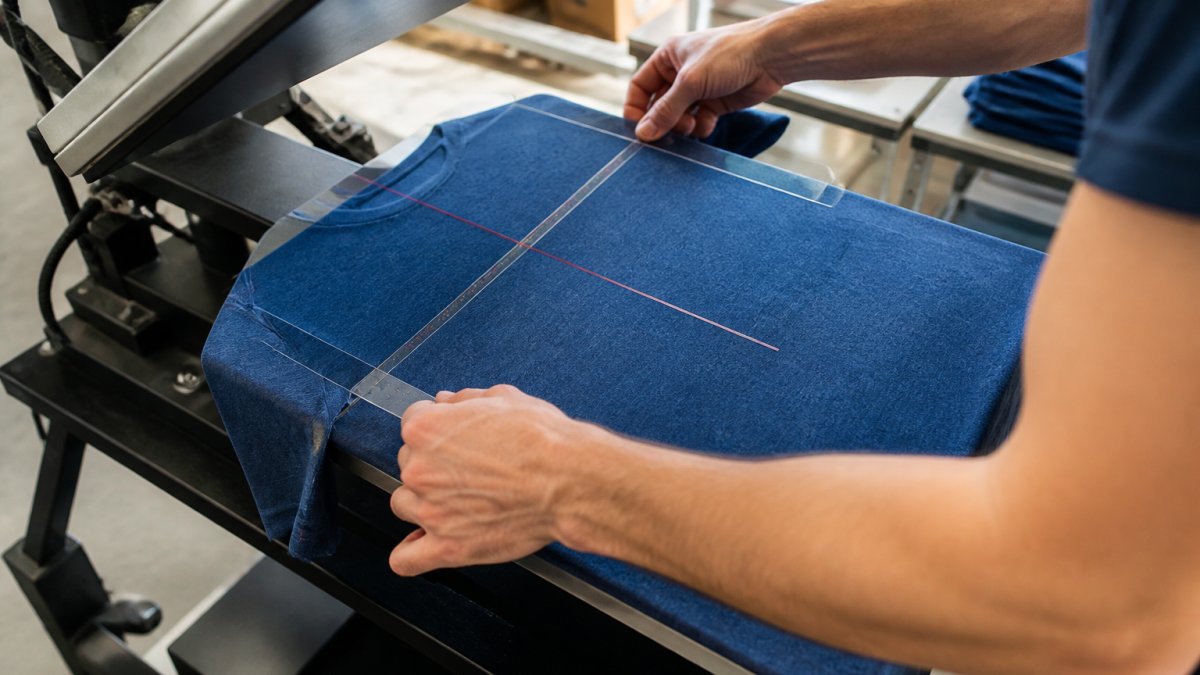
Using measurement tools and rulers: Lay the shirt flat and find the neckline center (vertical axis). Measure down to your starting point and draw a light pencil line across the shirt (horizontal axis). Position your logo's center where these lines intersect, then measure outward for the left and right edges. This five-minute process prevents costly reprints.
For digital work, create guides at measurement points in your design software and position your design relative to those guides, not by eye.
Accounting for garment size variations: Measure from fixed reference points (neckline, shoulder seam, armpit seam) that exist on every size, not from the shirt edge. Test placement on both small and large samples before full production to ensure equal centering.
Logo Placement Tools for Apparel
Digital templates and print-ready files should include guides, safe zones, and measurement annotations showing neckline position, shoulder seam location, armpit seam boundaries, center vertical axis, and restricted zones. Save as a standard template for every design. Include a mockup image showing exactly where the design sits on the garment.
Physical alignment tools and mockups catch issues digital mockups miss. Print a test design on a sample garment to verify placement, check seam distortion, confirm proportional sizing, and identify fabric tension issues. This test costs less than reprinting 500 units.
Preparing Your Design for Accurate Placement
A structured digital-to-physical workflow eliminates the gap between screen design and fabric printing, where most placement errors occur.
Creating print-ready files with proper DPI: Use 300 DPI minimum. Set design dimensions to match actual print size. Use vector graphics (Adobe Illustrator, Affinity Designer, Inkscape) when possible; if using raster images, ensure at least 1200 pixels wide for designs under 6 inches. Include a 0.25-inch bleed margin to account for cutting variations.
Digital-to-physical alignment workflow: Create your design at actual print size with guides at measurement points. Export as high-resolution image (300 DPI, PDF or PNG). Print at 100% actual size on paper (not fit-to-page). Cut out and place on a sample garment to verify placement visually and by measurement. Take photos from straight-on and angled views. Send your printer the design file, template with guides, sample garment photo, and written placement specifications (e.g., "Center logo 2.5 inches below neckline, 2 inches from left shoulder seam").
Troubleshooting Print Distortion and Misalignment
Placement accuracy doesn't end when the design prints. Fabric distortion during printing and during wear can shift your logo from where you intended it to sit. Understanding these mechanisms prevents costly reprints and customer complaints.
Fabric tension and seam avoidance during printing are the most common culprits. When fabric is stretched during the printing process, designs distort. The print stretches with the fabric, shifting alignment and sometimes creating visible skew.
Printers use tension controls to minimize this. Fabric should be held flat but not over-stretched during the print process. If a design prints crooked or skewed, uneven tension during printing was likely the cause. This is a printer-side issue, not a design issue.
When you receive a sample that looks misaligned, ask your printer whether they adjusted tension settings. Different fabric weights and weaves require different tension levels. A 5.3-ounce jersey knit needs different tension than a 6.0-ounce heavyweight cotton. If your printer isn't adjusting for fabric type, that's a quality control gap.
Seam intersections cause predictable and unavoidable distortion. A design that crosses a seam will bend around that seam when the garment is worn or when the fabric is folded. This distortion is permanent and visible. The solution: redesign your placement to avoid seams entirely.
Check your design against the actual garment before sending to print. Identify every seam on the garment, shoulder seams, side seams, armpit seams, and any decorative stitching. Mark these as no-go zones. Position your design entirely within safe zones, leaving at least 0.5 inches of clearance from any seam.
The stretch factor: placement changes between flat and worn is a critical distinction most placement guides ignore. A logo that looks perfectly centered when the shirt is laid flat on a table will shift position when the shirt is worn on a body.
When a garment is worn, the fabric stretches across the chest, shoulders, and arms. This stretching redistributes the fabric, which moves your printed design. A logo placed 2.5 inches below the neckline on a flat shirt may sit 2.75 inches below the neckline when worn, depending on the wearer's body shape and the garment's fit.
This shift is most noticeable on:
- Center chest designs on fitted garments, the fabric stretches horizontally, pulling the design wider and slightly lower
- Sleeve designs on fitted sleeves, the fabric stretches around the arm, rotating the design slightly
- Back designs on fitted backs, shoulder blade movement and posture shift the design position
To account for the stretch factor, test your placement on an actual person wearing the sample garment, not just on a flat surface. Have someone put on the sample shirt and stand naturally.
Quality Approval Before Production
Your approval is the final checkpoint. Use it.
Before your printer runs a full production batch, they should provide:
- A digital mockup showing the design on the garment
- A physical sample with the actual design printed on the actual garment
- Placement measurements documented on the sample
Review all three. Check that the design sits where you specified. Verify it doesn't cross seams or hit pockets. Confirm the size and color look correct. Sign off in writing.
Frequently Asked Questions
How far down from the collar should a chest logo be placed on a shirt?
Standard placement for a left chest logo is 2 to 3 inches below the neckline, measured from the collar to the top of the design. This positioning works across sizes small through XXL because it maintains visual balance relative to the armpit seam. Avoid placing logos too close to the neckline, which can appear cramped, or too low, which shifts the focus away from the chest area. Always measure from the highest point of your design and account for the garment's natural seam allowance.
What is the golden rule for logo placement on apparel?
Center your logo on the vertical and horizontal axes of the print area, and maintain consistent distance from key reference points like the neckline, armpit seam, and hem line. The golden rule is visual balance: a well-placed logo should look intentional and proportional to the garment, not cramped or floating. Use a ruler and t-square to verify alignment before sending your print-ready file to production. This approach prevents distortion and ensures professional results across all garment sizes.
How do I determine the correct logo position for different garment sizes?
Measure placement as a fixed distance from the neckline and armpit seam rather than as a percentage of garment width. For example, a logo that sits 2.5 inches below the neckline will look consistent on a small and an XXL because the reference points scale with the garment. Create a template that marks these fixed measurements, then apply it to each size. This digital-to-physical alignment workflow prevents placement from shifting as garment dimensions change, especially on oversized or fitted cuts.
What tools help ensure consistent logo alignment during printing?
Use a combination of digital mockups, physical rulers, and t-squares to verify alignment before production. Digital templates in your design file should show the exact print area, neckline, and seam locations. Physical alignment tools like registration marks and placement guides help press operators position your logo accurately on the garment. A mockup lets you see how your design looks on the actual fabric before committing to a full run. These tools together reduce placement errors and fabric distortion.