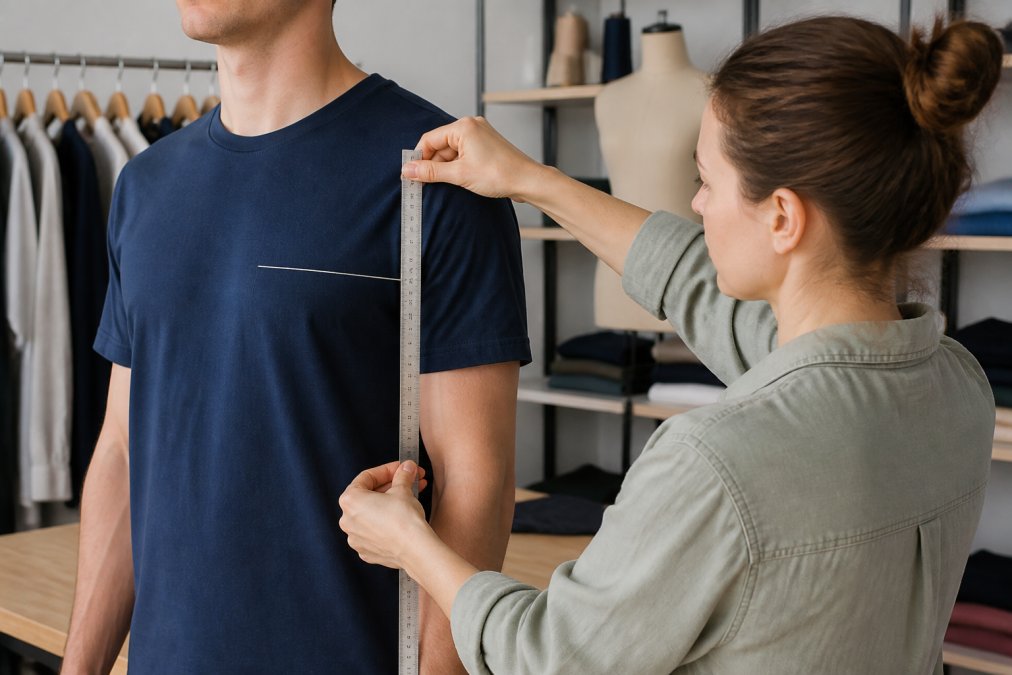
 ultimate-guide
Logo Placement Guide for Apparel: Exact Measurements
Table of Contents
- Why Logo Placement Matters for Brand Recognition
- Standard T-Shirt Logo Size and Left Chest Positioning
- Embroidery Placement Guide for Polos and Performance Wear
- How to Measure Logo Placement on Apparel: Step-by-Step
- Full Back Placement and Oversized Design Considerations
- Fabric-Specific Placement Adjustments
- Digital Mockup vs. Physical Reality: What to Expect
- Common Placement Mistakes to Avoid
- Frequently Asked Questions
Last Updated: September 20, 2026
Why Logo Placement Matters for Brand Recognition
Getting your logo placement right on custom apparel isn't just about aesthetics. It's about visibility, professionalism, and ensuring your brand actually gets noticed when your team wears it. At Logo Concepts & Printing, we've worked with businesses, from banks to automotive shops, and we understand how placement decisions impact how customers perceive your organization.
A poorly positioned logo can look amateurish or get lost entirely once someone puts on the garment. The right placement catches the eye, maintains visual balance, and reinforces brand recognition every time someone wears it. This logo placement guide for apparel walks you through placement strategies for different garment types and the practical adjustments you may need to make based on fabric and design complexity.
Standard T-Shirt Logo Size and Left Chest Positioning
Left Chest Placement Basics
The left chest is the most common placement for professional apparel, and for good reason. It mirrors the placement of real-world brand logos on polo shirts and dress shirts, signaling professionalism and formality.
For a standard left chest placement, position your logo 2 to 3 inches below the neckline and 1.5 to 2 inches from the left shoulder seam. The neckline-to-design distance matters because it needs to clear the collar area without looking cramped. Most logos in this position measure between 2 and 4 inches wide, large enough to be visible, small enough to feel balanced on the garment.
The shoulder seam is your vertical anchor. Measure from the seam down to the top of your logo. You want enough breathing room so the design doesn't feel crowded against the armpit area. A good rule is to keep the logo at least 1.5 inches away from the armpit line.
Center Chest and Full Front Designs
Center chest placement works best for larger logos or designs that need maximum visibility. Position the logo so it's centered horizontally on the garment, with the top of the design starting 4 to 5 inches below the neckline. This placement gives the design room to breathe and prevents it from creeping up onto the neck area.
For full front designs that span a significant portion of the chest, consider the visual hierarchy. The design shouldn't extend all the way to the armpit seams, leave at least 1 inch of white space on either side for comfort and visual balance. Vertically, keep the design between 4 inches below the neckline and 2 inches above the bottom hem.
Full front placements work particularly well for statement designs, event merchandise, or apparel where brand impact is the primary goal. However, they're less suitable for professional business wear where subtlety matters.
Embroidery Placement Guide for Polos and Performance Wear
Polo Collar and Shoulder Seam Considerations
Embroidered logos on polos demand precision because the collar structure creates natural placement boundaries. For a polo shirt, the standard placement is 0.5 to 1 inch below the collar seam on the left chest. This keeps the embroidery clear of the collar itself while maintaining visibility.
The shoulder seam acts as your horizontal reference point. Measure 1.5 to 2 inches inward from the shoulder seam toward the center of the chest. This positioning ensures the embroidery sits on flat fabric rather than the curved shoulder area, which can distort the design during stitching.
Embroidery placement on performance wear (moisture-wicking fabrics, athletic cuts) requires additional consideration. These garments often have different fabric tension and stretch properties. Position embroidery slightly lower than you would on standard cotton, about 2.5 to 3 inches below the neckline, to account for the fabric's movement during wear.
Sleeve and Cuff Logo Positioning
Sleeve embroidery is an underrated placement that works beautifully for secondary logos or smaller brand marks. On the upper sleeve, position the logo 1 to 1.5 inches down from the shoulder seam. Keep it centered on the sleeve width so it appears balanced when arms are at rest.
For cuff placement on long-sleeve apparel, position the logo 0.5 to 1 inch above the cuff seam, centered on the forearm area. This placement is subtle but professional, ideal for executive wear or formal uniforms. The cuff area typically accommodates logos up to 2 inches wide without looking crowded.
When placing logos on sleeves, account for the curved surface. Embroidery on a sleeve doesn't sit flat like chest placement. Test the placement on a sample garment first to ensure the design curves naturally with the arm rather than appearing distorted.
How to Measure Logo Placement on Apparel: Step-by-Step
Using a Ruler and Template for Accuracy
Start with the garment laid completely flat on a smooth, hard surface. A table works better than a bed or carpet because fabric can shift. Use a soft measuring tape or ruler, not a rigid metal one that can damage the garment.
Identify your starting point. For chest placement, this is the neckline seam. Mark a light reference line with tailor's chalk 2 to 3 inches directly below the neckline seam. Then measure horizontally from the left shoulder seam inward, typically 1.5 to 2 inches for left chest designs.
Create a simple template using kraft paper or cardboard. Cut out the exact size and shape of your logo. Place the template on the garment at your marked position and trace around it lightly. This visual reference prevents mistakes and gives you a clear target for your printer or embroiderer.
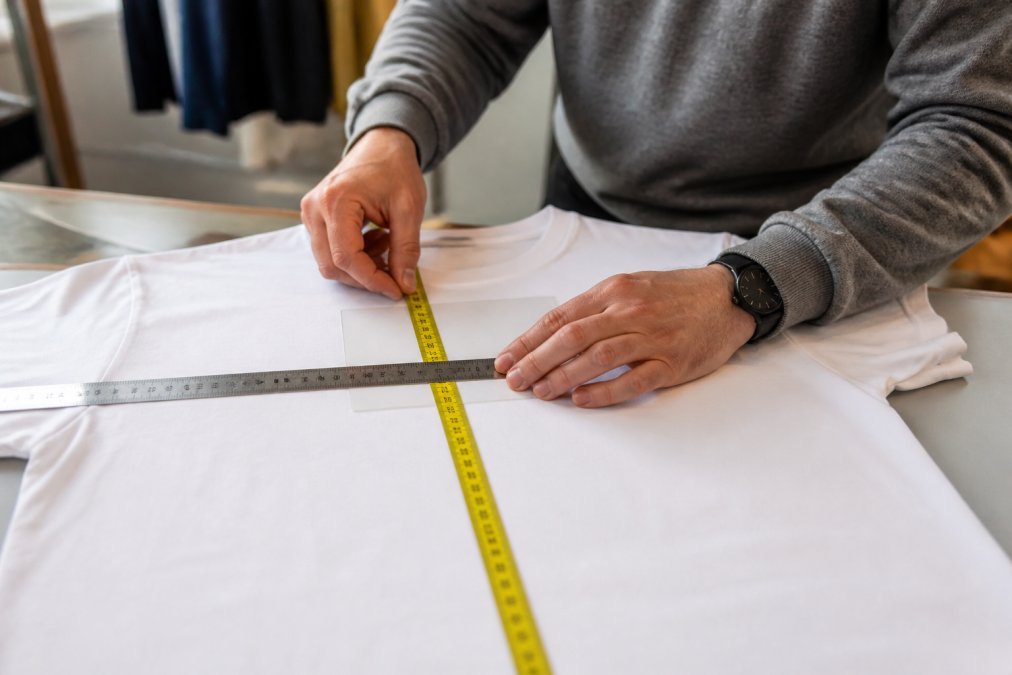
Measure twice. Check the distance from the neckline, the distance from the shoulder seam, and the distance from the armpit area. Verify that the placement feels balanced by stepping back and looking at the garment from arm's length away. What looks perfect up close might feel off when worn.
Adjusting Placement for Different Garment Types
T-shirts, polos, hoodies, and jackets all have different placement requirements. On hoodies, the chest pocket area affects placement, position your logo 3 to 4 inches below the neckline to avoid overlapping the pocket. Jackets with structured shoulders need placement that accounts for shoulder padding; measure 2 to 2.5 inches below the neckline rather than the standard 2 inches.
Tank tops and sleeveless garments require higher placement because there's no shoulder seam to reference. Use the armhole seam as your anchor point instead, measuring 1.5 inches inward from the armhole. Vertically, position the logo 3 to 4 inches below the neckline.
Raglan sleeves (common on baseball tees) create a diagonal seam rather than a traditional shoulder seam.
Full Back Placement and Oversized Design Considerations
Back placement offers more real estate for larger designs and makes a bold statement. For a centered back logo, measure down from the back neckline seam approximately 3 to 4 inches. This positioning keeps the design visible when someone is facing away while avoiding the collar area.
Fabric-Specific Placement Adjustments
Cotton and cotton-blend fabrics are the most forgiving for logo placement. They maintain consistent tension and don't shift significantly during printing or embroidery. Use standard measurements without adjustment for these materials.
Digital Mockup vs. Physical Reality: What to Expect
Digital mockups show how your design will look, but they rarely capture the full reality of how a garment will appear on a person. A logo that looks perfectly positioned in a flat digital mockup can appear off-center or distorted once the garment is worn.
Common Placement Mistakes to Avoid
Placing the logo too high is the most frequent error. Logos positioned less than 2 inches below the neckline look cramped and unprofessional. They also risk overlapping with the collar when someone wears the garment, especially if they're taller or have a larger neck size.
Frequently Asked Questions
Where should a logo be placed on a shirt for a professional look?
For professional apparel, place logos on the left chest, 2-3 inches below the neckline and 2 inches from the shoulder seam. This positioning maintains visual balance and brand recognition without overwhelming the garment. Center chest designs work for formal settings but require careful sizing. Full back placement suits event apparel and team uniforms. The key is consistent horizontal centering and adequate distance from seams to prevent distortion during wear and washing.
What are the standard measurements for chest logo placement?
Standard t-shirt logo size ranges from 3-5 inches wide for left chest placement. Position the design 2-3 inches below the neckline and 2 inches from the shoulder seam. For center chest designs, place 3-4 inches below the neckline. These measurements account for visual hierarchy and ensure logos remain visible without creating design distortion. Adjust slightly for oversized garments or different body types to maintain professional appearance across all sizes.
How does logo placement differ between t-shirts, polos, and hoodies?
T-shirts use standard left chest or center chest placement. Polos require embroidery placement consideration, position logos 2.5-3 inches below the collar to avoid button overlap and maintain professionalism. Hoodies need higher placement, 3-4 inches below the neckline, to account for the drawstring. Sleeve prints on polos work well at 1-2 inches above the cuff. Each garment type has different fabric tension and construction, so placement adjustments prevent design distortion and ensure consistent brand recognition across your apparel lineup.
How do I ensure consistent logo placement across different apparel sizes?
Use a template and ruler to mark placement points before printing or embroidery. Measure from fixed reference points like the shoulder seam and neckline rather than estimating by eye. Digital mockup tools help preview placement before production. Create a written placement guide for your vendor that includes measurements in both inches and centimeters. Request approval of a sample garment in your size range before full production. This process prevents placement variation and ensures professional visual balance across small, medium, large, and oversized items.