 how-to
Quality Control for Custom Apparel: A Complete Guide
Table of Contents
- Why Quality Control Matters for Custom Apparel
- Pre-Production Quality Checks and Sample Approval
- Understanding AQL Standards for Clothing
- Common Custom Apparel Defects and How to Catch Them
- In-Line Production Monitoring and Final Inspection
- Your Apparel Quality Control Checklist
- Digital QC Tools and Modern Inspection Methods
- Conclusion
- Frequently Asked Questions
Last Updated: September 25, 2026
Why Quality Control Matters for Custom Apparel
Quality control for custom apparel isn't optional, it's the foundation of every successful branded merchandise campaign. When your logo hits a t-shirt, hoodie, or polo, it represents your business. A faded print, misaligned design, or loose seams sends the wrong message to clients, employees, and prospects. Poor quality control destroys brand perception faster than any marketing mistake can repair it.
A batch of 500 branded shirts with printing defects wastes budget and undermines credibility, recipients remember the disappointment and talk about it, undoing months of positive brand building.
Quality control for custom apparel involves three inspection points: pre-production checks catch design issues before bulk production, in-line monitoring prevents defects during manufacturing, and final inspection ensures every piece meets standards before shipment.
Pre-Production Quality Checks and Sample Approval
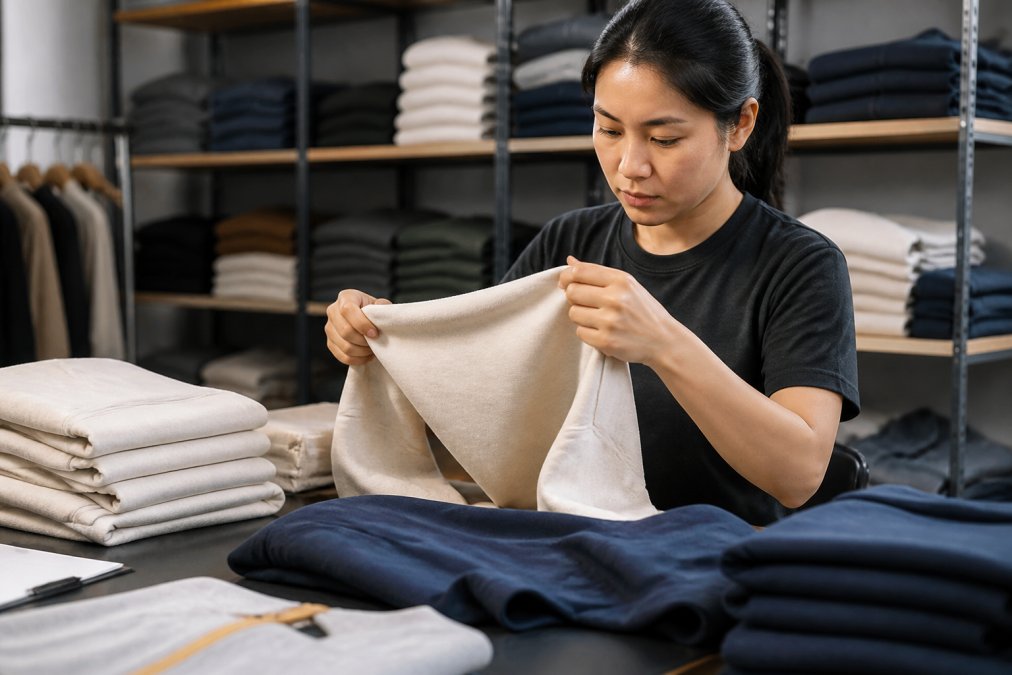
Before a single shirt enters bulk production, pre-production samples must be approved. This is your first and most critical quality gate.
Request a sample matching your final specifications exactly: color, placement, sizing, material. Review in person if possible; photos can hide color shifts or thread inconsistencies.
Check these elements on your pre-production sample:
- Logo placement and alignment on the garment
- Color accuracy compared to your approved Pantone reference
- Print or embroidery quality and sharpness
- Seam integrity and thread color
- Fabric feel, weight, and shrinkage characteristics
- Label placement and legibility
Don't approve a sample just to move forward faster. A rejected sample costs time upfront but saves money and reputation later. Most production problems originate from poor sample approval.
Communicate specific feedback clearly. Instead of "the color seems off," say "the blue is too bright compared to Pantone 287C" to prevent misunderstandings that cascade through production.
Understanding AQL Standards for Clothing
AQL (Acceptable Quality Limit) is an industry standard defining how many defects are acceptable in a batch. Understanding AQL helps you set realistic quality expectations and communicate them clearly to your supplier.
AQL levels range from 0.65 to 6.5 depending on defect severity and tolerance. AQL 1.5, common for branded apparel, means roughly 1.5 defects per 100 garments are acceptable.
Defects fall into three categories under AQL standards:
- Critical defects: Make the garment unwearable (missing buttons, major tears, severe color mismatch)
- Major defects: Significantly impact appearance or function (misaligned logo, loose seams, color fading after one wash)
- Minor defects: Small imperfections that don't affect wearability (slight thread loose ends, minor color variation, small label misalignment)
Confirm your AQL level with your supplier upfront; most use AQL 2.5 or AQL 4.0 as standard. Stricter standards may affect pricing and timeline.
AQL standards exist because 100% defect-free production is economically unrealistic at scale, creating shared understanding of quality expectations.
Common Custom Apparel Defects and How to Catch Them
Knowing what to look for during inspection saves time and prevents shipping defective merchandise while helping you distinguish between critical rejects and minor variations within quality standards.
Print-Related Defects
Faded prints appear after washing from inadequate ink cure or low-quality ink. Slight fading (5-10% color loss) is minor; severe fading (30%+ loss) is major. Request colorfastness testing on 2-3 samples before approving bulk production.
Cracked or peeling prints indicate poor ink bonding. Any visible cracking or peeling is a critical defect. Test by rubbing the printed area firmly; if ink flakes off, reject it.
Misaligned prints sit off-center or at an angle. Typical tolerance is ±0.5 inches for standard placement, ±0.25 inches for precision work. Measure using a ruler or calipers; misalignment beyond tolerance is a major defect.
Color bleeding occurs when ink bleeds into surrounding fabric. Minor bleeding (less than 1/8 inch) is acceptable; significant bleeding (1/4 inch or more) is major. Inspect under bright light against your approved sample.
Color mismatch between approved sample and production is common. Use a Pantone reference card or spectrophotometer to measure color values. If production color is more than 2-3 Delta E units from approved Pantone, it's a major defect.
Embroidery-Specific Defects
Loose or bunched thread indicates tension problems. Run your finger across embroidery; threads should feel smooth and even. Bunching or loose loops are major defects; loose thread ends (1-2 mm) are minor.
Missing stitches create gaps in the embroidered design. Small gaps (less than 1/8 inch) are minor; large gaps affecting legibility are major defects.
Puckering occurs when fabric wrinkles around embroidered areas from improper stabilizer use or excessive stitch density. Minor puckering is acceptable; severe puckering (wrinkles more than 1/4 inch deep) is major.
Thread color inconsistency means embroidery thread doesn't match the approved sample. Compare production embroidery against your approved sample under the same lighting; if color difference is noticeable, request correction.
Garment Construction Issues
Loose stitching means seams separate easily or threads pull out with minimal force. Test by pulling on a seam; if it separates, it's a critical defect.
Skipped stitches create gaps in the seam line. A single skipped stitch (1-2 mm gap) is minor; multiple skipped stitches or gaps longer than 1/4 inch are major defects.
Uneven seams wander or vary in width.
Fabric Defects
Defect Documentation and Decision Framework
Use this severity framework when documenting defects:
- Critical defects: Make the garment unwearable (missing buttons, major tears, severe color mismatch, loose seams that separate). Reject 100% of garments with critical defects.
- Major defects: Significantly impact appearance or function (misaligned logo beyond tolerance, cracked print, color bleeding, measurement outside tolerance). Acceptance depends on your AQL agreement.
- Minor defects: Small imperfections that don't affect wearability (slight thread loose ends under 1/2 inch, minor color variation, small label misalignment). Minor defects typically don't prevent shipment but should be tracked.
In-Line Production Monitoring and Final Inspection
In-line monitoring means inspecting garments during production, not just at the end. This catches problems early when they're cheaper to fix.
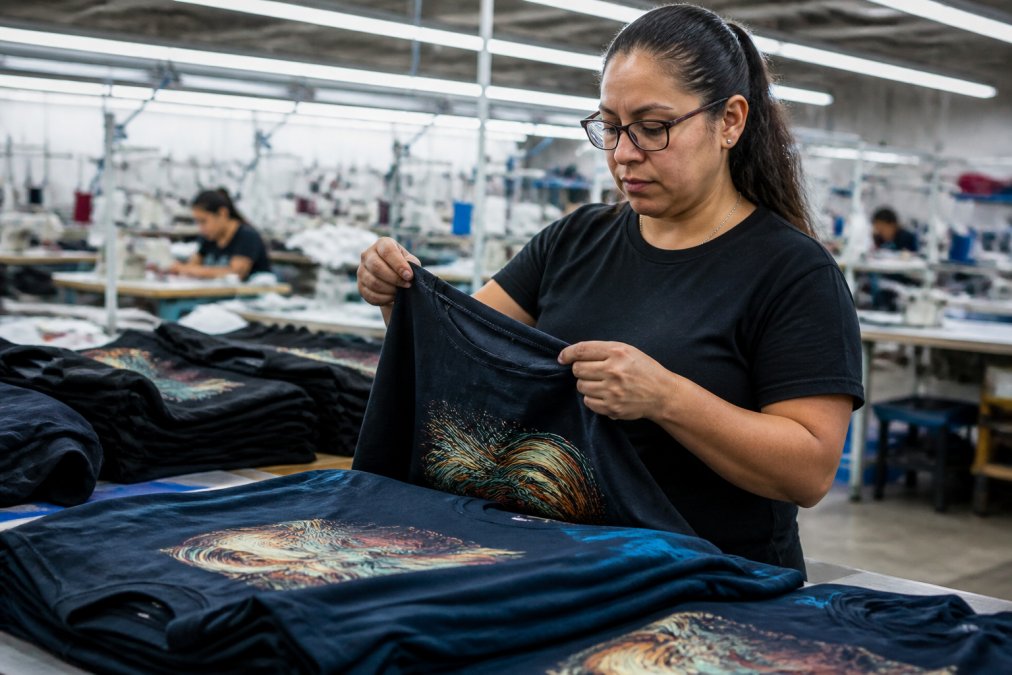
During production, monitors should check:
- Print registration and alignment on each garment
- Color consistency across the production run
- Ink cure and adhesion quality
- Stitching quality and seam straightness
- Embroidery tension and thread placement
100% Inspection vs. Statistical Sampling
Final inspection includes:
- Visual check for all print, embroidery, and construction defects
- Measurement verification (chest width, sleeve length, etc.) against your specification sheet
- Colorfastness spot-checks on a sample basis (5-10 garments washed and dried to verify color holds)
- Packaging quality and label accuracy
- Defect documentation and categorization
Your Apparel Quality Control Checklist
Use this checklist during every stage of your custom apparel project. Print it, share it with your supplier, and reference it throughout production.
| Stage | Checklist Item | Who Checks | When |
|---|---|---|---|
| Pre-Production | Sample matches approved design | You | Before bulk production |
| Pre-Production | Colors match Pantone references | You | Before bulk production |
| Pre-Production | Placement and sizing approved | You | Before bulk production |
| In-Line | Print registration consistent | Supplier | During production |
| In-Line | Color consistency batch-to-batch | Supplier | During production |
| In-Line | Stitching quality and seams straight | Supplier | During production |
| Final | 100% visual inspection completed | Supplier | Before packaging |
| Final | Measurements verified | Supplier | Before packaging |
| Final | Defect count meets AQL standard | Supplier | Before packaging |
| Final | Packaging quality checked | Supplier | Before shipment |
| Final | Labels and hang tags correct | Supplier | Before shipment |
Digital QC Tools and Modern Inspection Methods
Modern quality control increasingly relies on digital tools to standardize inspections and track defects. Digital QC platforms let inspectors log defects, capture photos, and track trends across batches, creating searchable records that identify recurring problems.
Conclusion
Quality control for custom apparel protects your brand reputation and maximizes the value of your marketing investment. Every inspection point, pre-production approval, AQL standards, in-line monitoring, and final inspection, serves a purpose. When you combine clear quality standards with documented inspection processes, you eliminate most defect problems before merchandise reaches your customers.
Frequently Asked Questions
What is AQL in the apparel industry?
AQL (Acceptable Quality Limit) is the maximum percentage of defects allowed in a batch of custom apparel. For example, an AQL of 2.5 means no more than 2.5% of garments can have defects. The specific AQL depends on defect severity, critical defects (like broken zippers) may have an AQL of 0%, while minor defects (like loose threads) might allow up to 4%. Your AQL standards for clothing should match your brand's expectations and customer tolerance.
What are the most common custom apparel defects?
Common custom apparel defects include misaligned print placement, color fading or inconsistency, pilling or fabric pilling, loose or skipped stitches, uneven dye lots, and screen print bleeding or cracking. Print registration errors, where colors don't align properly, are especially common in multi-color designs. Shrinkage beyond tolerance and seam puckering also occur frequently. A solid apparel quality control checklist catches these before products reach your customers.
How do you check the quality of custom screen printed shirts?
Inspect screen printed shirts by examining print sharpness, color accuracy against your approved pantone match, and registration alignment. Check for bleeding (ink spreading beyond design edges), cracking, or peeling. Verify thread count and stitching consistency at seams. Test colorfastness by washing a sample garment. Measure print placement against your design specifications and tolerance levels. Include a final audit of packaging to ensure garments arrive in perfect condition to your customers.
Why is pre-production sample approval critical?
A pre-production sample lets you verify design placement, color accuracy, fabric quality, and overall workmanship before the entire bulk production run begins. Approving a sample prevents costly mistakes affecting hundreds or thousands of garments. It's your chance to catch misaligned logos, incorrect pantone matching, or fabric shrinkage issues early. This step saves time, money, and your reputation, especially important when tight turnarounds are involved.